
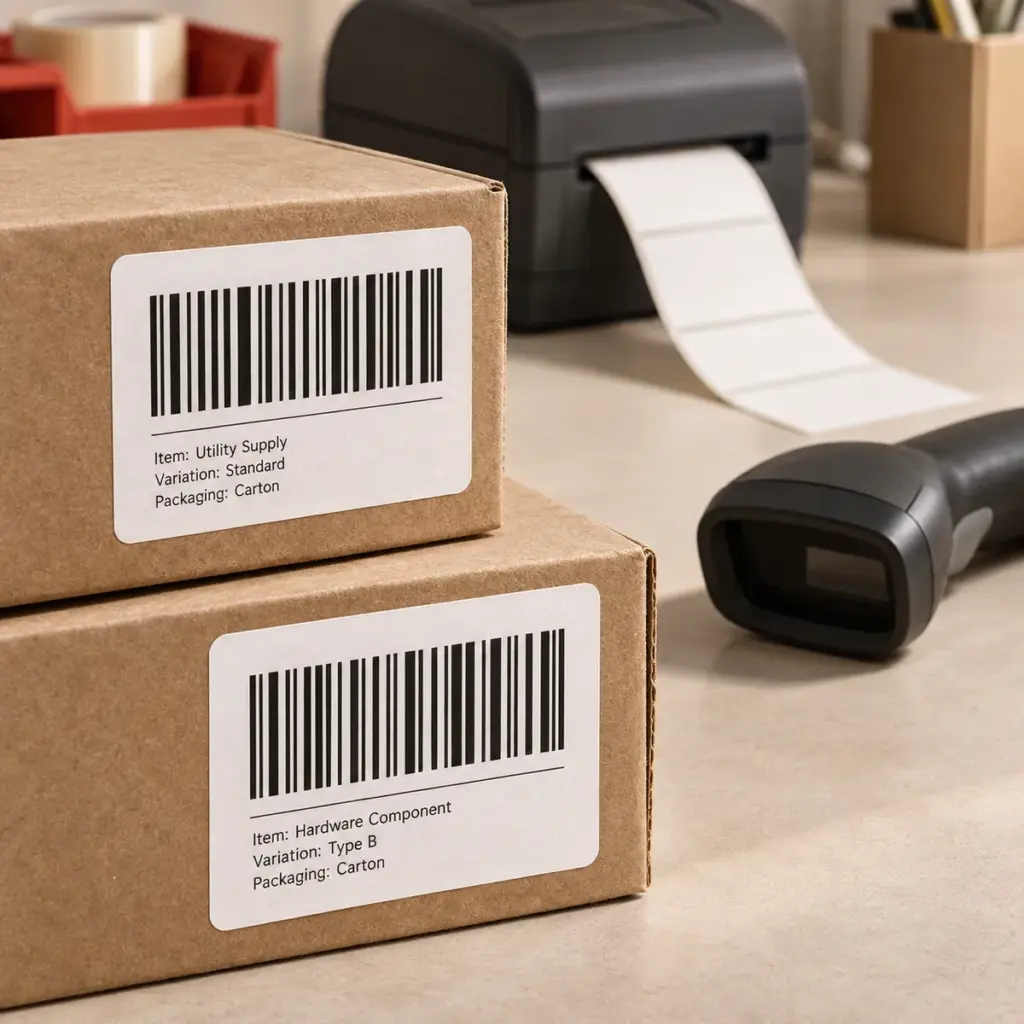
“Will a 203 dpi label printer print my barcode clearly?” is a reasonable purchasing question. The resolution figure provides part of the answer. The size of the barcode inside the label, the way the artwork reaches the printer, and the conditions in which it will be read also matter.
A useful first step is to share the label at its intended physical size. A layout that looks sharp when enlarged on a monitor can present a different problem when printed on a small label. This article looks closely at that relationship, so you can discuss the actual requirement without first becoming a barcode specialist.
Start with the Barcode Inside the Label
The outer label dimensions do not describe the space available to the symbol. Text, a logo and other information may leave only a narrow area for the barcode. The clear area around the symbol, often called the quiet zone, also belongs in the layout. Its required size depends on the barcode type and application.
For a linear barcode, the narrowest bar or space is related to its basic unit width, commonly described as the X-dimension. A two-dimensional symbol such as a QR code uses small modules. The printer must reproduce those elements and the spaces between them at the intended physical size.
Consider a hypothetical label design in which a wide barcode is reduced to make room for a larger product name. The label itself has not become smaller, and the printer resolution has not changed. The symbol’s smallest features have become smaller, however, and its quiet zones may also have been reduced. That change deserves review before blaming the printer.
GS1 explains barcode sizing in terms of acceptable ranges for the particular application, with the printing process and material affecting the appropriate size. There is no single minimum barcode size that can be applied to every label and use case.
Look Closely at the Printing Dots
A thermal printhead has discrete printing elements. The artwork eventually has to be represented on that physical dot grid. A higher-resolution head provides a finer grid, but the layout still has to be prepared and printed appropriately.
Here is a calculated illustration using a head with 8 dots/mm, a density commonly described as the 203 dpi class. One dot occupies a nominal pitch of 0.125 mm. Two dots span 0.250 mm; three dots span 0.375 mm. These values describe the grid, not a measurement of the dark mark after printing.
If artwork requests a 0.300 mm basic unit on that grid, the requested width corresponds to 2.4 dots. It cannot be represented as 2.4 whole printing elements. The rendering method has to map the design to available dots. Depending on how an image is generated or resized, intended feature widths can be altered.
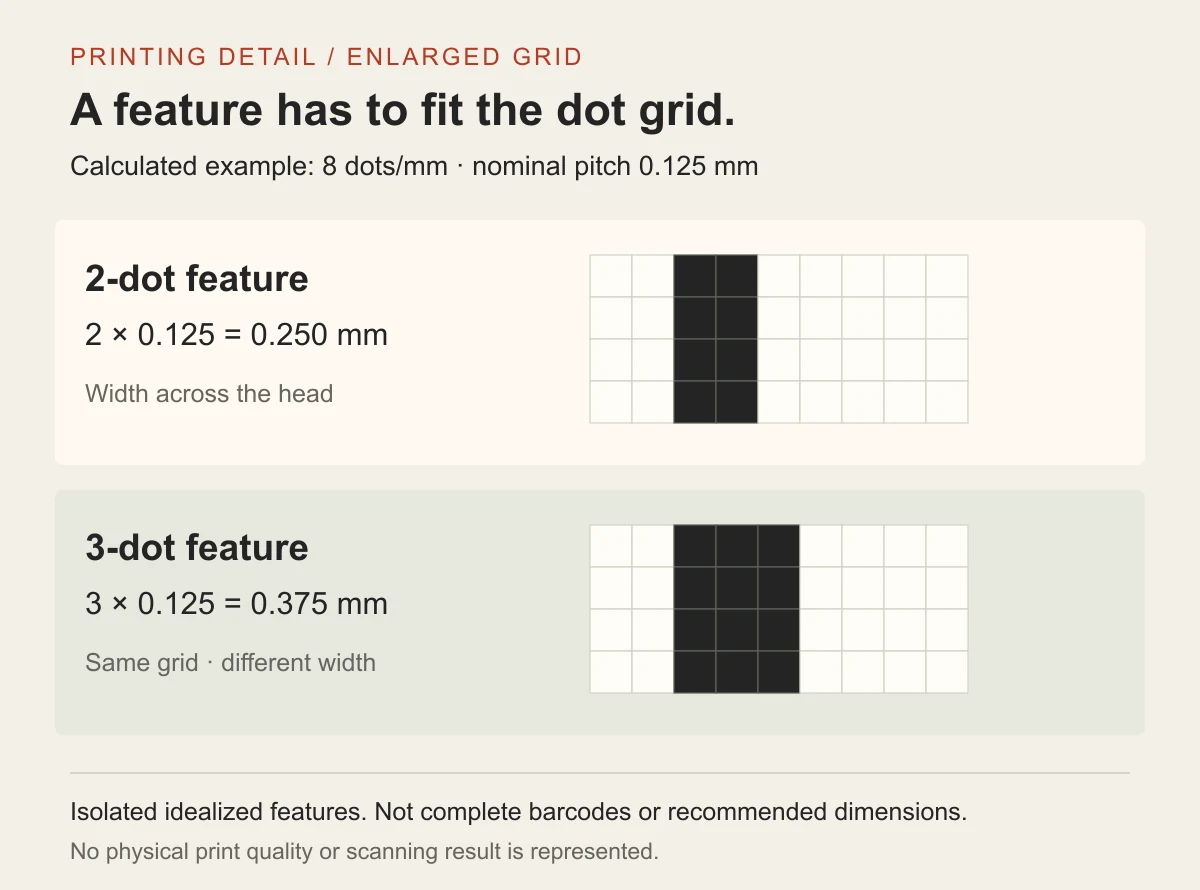
Calculated grid illustration assuming 8 dots/mm. The shapes are isolated feature examples, not complete barcodes, actual print samples or recommended barcode dimensions. Application-specific symbol requirements still apply.
This does not mean that 0.250 mm or 0.375 mm is automatically suitable for your barcode. The permissible symbol dimensions, complete symbol size and quiet zones still need to match the application. The example shows why a small change to the template can be relevant even when the dpi specification remains unchanged.
Keep the Intended Size Through the Print Workflow
A barcode generated for a particular printer and physical size can be changed again by a label editor, image export, document layout or print scaling. For example, shrinking a complete label to fit a different page size also shrinks the barcode within it. A screenshot of a barcode is not a substitute for a properly generated production template.
Keep the original label file where possible. Confirm the intended label dimensions and check whether the software scales the output. Where supported, generate the symbol through a suitable barcode tool or printer command at the required size, rather than repeatedly resizing a small raster image. The selected software, driver and printer configuration should be reviewed together.
More Darkness Is Not the Same as More Detail
Once the layout is understood, review the actual printed result on the chosen label stock. Missing portions, spread edges and poor separation between dark and light areas are different observations. Increasing darkness without identifying the problem may make narrow spaces harder to distinguish rather than recover lost detail.
Use compatible media and settings within the printer’s documented operating requirements. Keep the template, media and settings identifiable when comparing samples, and change one factor at a time where practical. If the output is generally faint, our thermal-paper print comparison article explains a controlled comparison approach; label-specific requirements still need their own review.
A higher-resolution printer may be appropriate when required small features cannot be represented satisfactorily at the existing resolution while maintaining the necessary layout and symbol requirements. That conclusion should follow a review of the actual job. Changing resolution alone will not recover a quiet zone removed by a logo or reverse an incorrect scaling choice in the workflow.
A Successful Scan Answers a Limited Question
Reading a sample with a phone or one handheld scanner is useful feedback about that combination and those conditions. It does not establish reliable reading across all of the equipment and environments the label may encounter.
GS1 New Zealand distinguishes scanning from barcode verification. A scanner decodes the symbol; verification assesses a broader set of quality characteristics. If a retailer, logistics provider or other recipient requires a specified verification result, that requirement should be part of the project discussion.
For an operational trial, use the intended scanning equipment and the expected presentation, distance and label surface. If formal verification is required, follow the applicable process and acceptance criteria. Neither a successful demonstration scan nor an attractive photo should be presented as a verification report. The illustrations in this article are not test evidence.
Send the Label Before Deciding on the Printer
The Uright UR-4260 and UR-4250 are direct thermal label printers with published 203 dpi resolution. Whether either fits your job needs to be assessed against the actual label, software and operating requirements. This article does not claim that every barcode layout is suitable for either model.
To start a discussion, send the original label file or a sample image with its intended dimensions. Tell us what will read the barcode and where the label will be used. If there is an existing problem, include a photo of the printed label and the current printer model. You can start with the information you already have.
We can help review whether the layout can be adjusted, whether the media or printing workflow needs attention, and whether a different configuration should be considered. The aim is to meet the actual printing and reading requirement without choosing specifications in isolation.
Browse our thermal label printers, or send your sample by email or WhatsApp for an initial discussion.